
NFTs (non-fungible tokens) have become an emerging trend across art, music and entertainment industries in recent years. These unique digital assets enable creators to sell and authenticate their work on blockchain networks – offering creators new levels of ownership and scarcity of digital content. In this post, we’ll examine how minting NFTs works along with some code samples to get you started.
What is Minting an NFT?
Minting an NFT refers to the process of creating a digital asset on a blockchain that is truly unique. NFTs serve as digital tokens representing ownership over specific pieces of content such as artwork, music or videos and when an NFT is mined a smart contract is created on the blockchain that validates ownership and uniqueness ensuring each NFT remains unique without duplicating or copying.
To mint an NFT, it requires creating a smart contract which defines its metadata, ownership and other properties. You’ll also have to pay a fee to the blockchain network for creating and verifying this smart contract. Once created, NFTs can be bought, sold or traded like any other asset on the blockchain network.
Minting NFTs on Ethereum
Ethereum is one of the leading blockchain platforms for minting non-fungible tokens (NFTs), providing developers with a robust ecosystem of tools and resources for minting NFTs. Here, we’ll show some code samples for minting NFTs using Solidity programming language on Ethereum – it provides decentralized network of computers which maintain ledger of transactions and smart contracts used to develop decentralized applications and digital assets.
To mint an NFT with Ethereum, follow these steps:
- Select a platform or marketplace for minting your National Financing Token (NFT). Popular choices are OpenSea, Rarible, and SuperRare.
- Connect your Ethereum wallet to the platform, so that you can access your Ethereum balance and pay any necessary gas fees associated with minting an NFT.
- Create an NFT by uploading the digital file you wish to tokenize – such as an image, video file, music track or any other digital asset – that you wish to tokenize.
- Fill in all required information about your NFT, such as its name, description and any additional metadata.
- Set the price of your NFT, if you intend on selling it. Otherwise, keep it as an heirloom or personal collectible!
- Pay the gas fees required for the transaction to take place on Ethereum network.
- Submit the transaction and wait for confirmation by the Ethereum network.
Once your NFT has been created, it will be stored on the Ethereum blockchain and can be bought, sold or traded on various marketplaces or platforms. Due to its decentralized nature, Ethereum guarantees ownership and authenticity for NFTs created using this method, making it a suitable way of creating digital assets and managing them effectively.
Setting up the Environment
Before we can begin, it is necessary to set up our development environment. Install the latest versions of Node.js and npm on your machine, followed by installing Truffle Framework and OpenZeppelin Library using NPM:
npm install -g truffle
npm install @openzeppelin/contracts
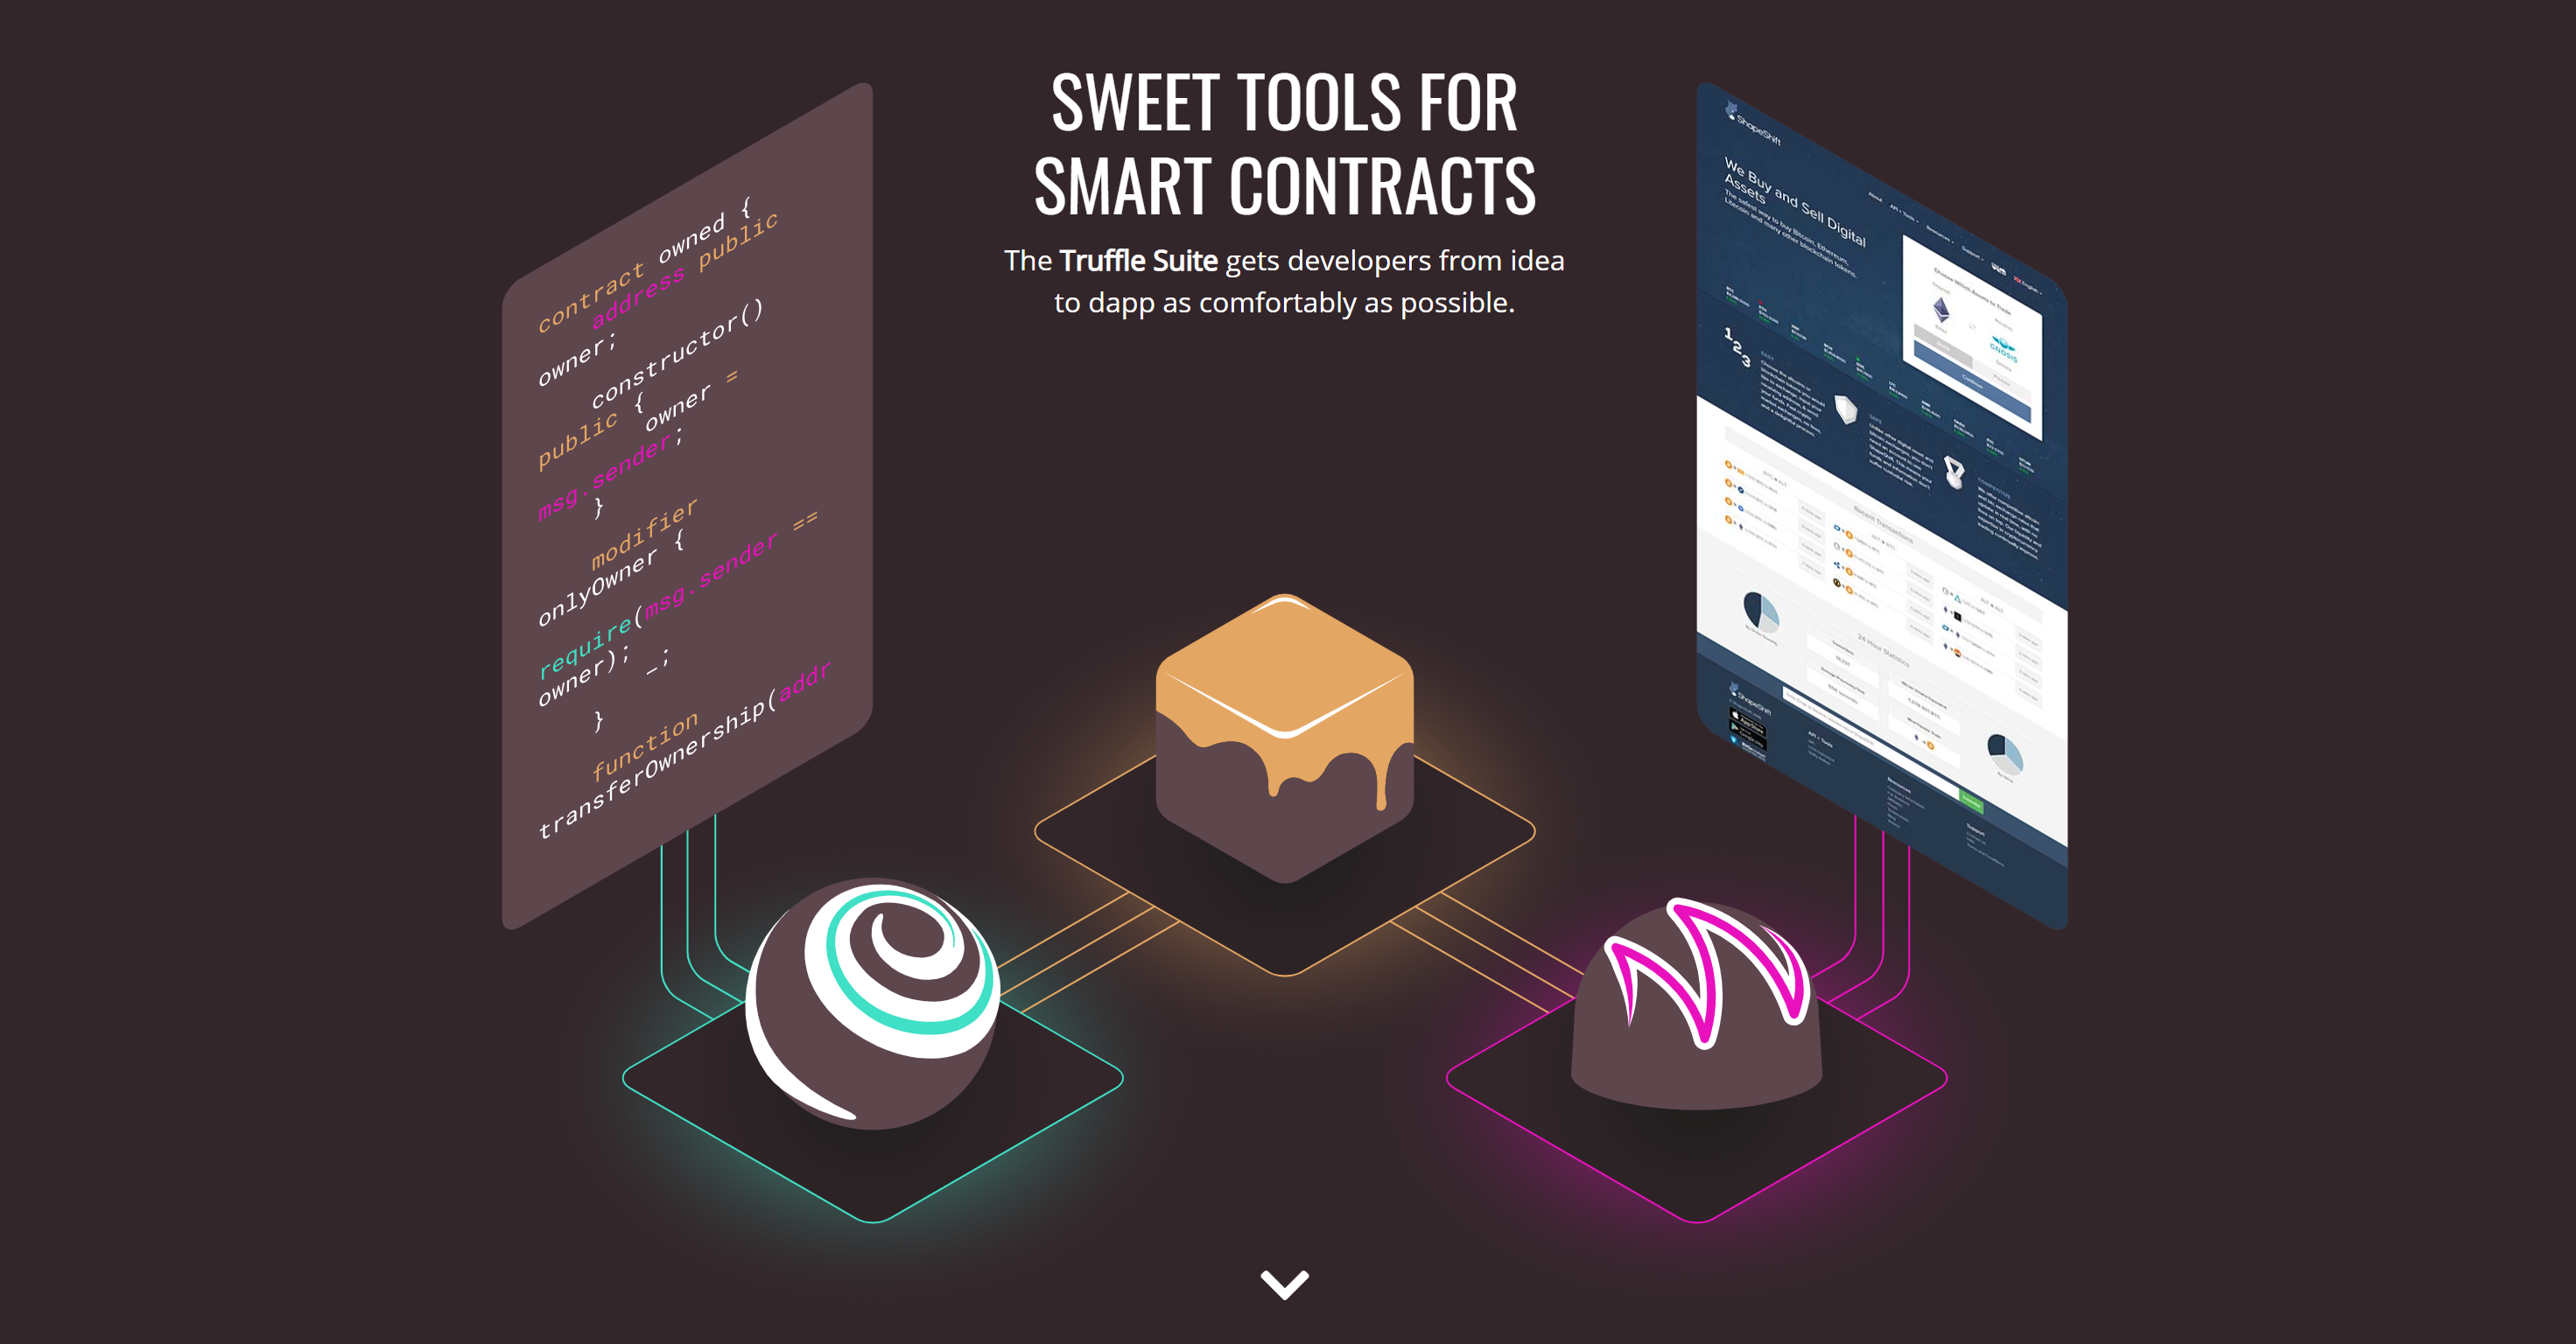
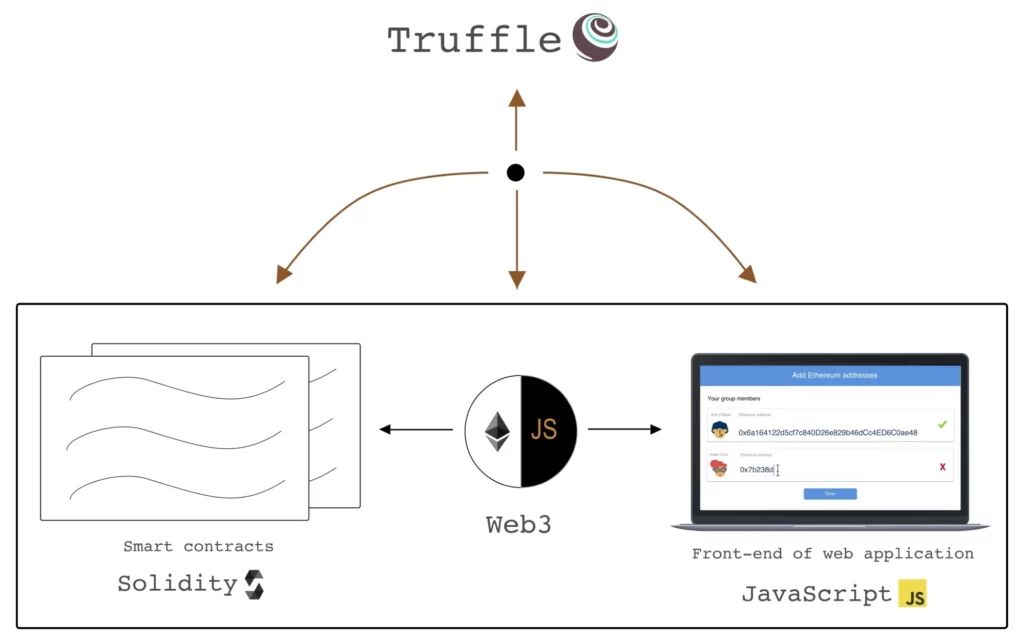
Truffle is a world-class development environment, testing framework and asset pipeline for blockchains using the Ethereum Virtual Machine (EVM), aiming to make life as a developer easier.
Truffle is widely considered the most popular tool for blockchain application development with over 1.5 million lifetime downloads. Truffle supports developers across the full lifecycle of their projects, whether they are looking to build on Ethereum, Hyperledger, Quorum, or one of an ever-growing list of other supported platforms.
Follow these commands to create and initialize a Truffle project and smart contract.
truffle init
Launching Truffle will create a new project with contracts/ directories, along with an accompanying truffle-config.js file.
Defining the NFT Contract
The next step would be to define our NFT contract in the contracts/ directory. As a starting point we’ll use the OpenZeppelin ERC721 contract which is widely adopted implementation of ERC721 token standard for NFTs.
// SPDX-License-Identifier: MIT
pragma solidity ^0.8.0;

import "@openzeppelin/contracts/token/ERC721/ERC721.sol";
import "@openzeppelin/contracts/utils/Counters.sol";

contract MyNFT is ERC721 {
    using Counters for Counters.Counter;
    Counters.Counter private _tokenIds;

    constructor() ERC721("MyNFT", "MNFT") {}

    function mintNFT(address recipient, string memory tokenURI) public returns (uint256) {
        _tokenIds.increment();
        uint256 newItemId = _tokenIds.current();

        _mint(recipient, newItemId);
        _setTokenURI(newItemId, tokenURI);

        return newItemId;
    }
}
This code creates the MyNFT smart contract, which inherits from OpenZeppelin ERC721 contract. The MyNFT smart contract includes mintNFT function which can be called by anyone to create new NFT with any tokenURI (metadata associated with token) and assign it to any recipient. Once your smart contract is written, its unique ID should be generated. Once completed, its bytecode should then be deployed onto the Ethereum blockchain using a Solidity compiler like solc (if necessary, install solc first on your computer; installation instructions can be found on their website) in order to compile and deploy.
solc <Filename>.sol --bin --abi --optimize -o ./build
Above command tells solc to compile the sol file and output the bytecode (–bin) and ABI (–abi) files in the ./build directory. The –optimize flag optimizes the bytecode for gas efficiency. Once the compilation is complete, you should see two files in the ./build directory: Filename.bin (the bytecode) and Filename.abi (the ABI). You may now deploy your contract to the Ethereum network using a tool like Remix, Truffle, or Hardhat.
Deploying to the blockchain using Truffle
We have already initialized Truffle which generated the truffle-config.js while setting up the environment, Let’s configure the network(s) we want to deploy the contract to. We have to specify the network name, the URL for the node, and any account credentials if necessary. See the example below
module.exports = {
  networks: {
    ropsten: {
      provider: () => new HDWalletProvider(process.env.MNEMONIC, 'https://ropsten.infura.io/v3/your-infura-api-key'),
      network_id: 3,
      gas: 5500000,
      confirmations: 2,
      timeoutBlocks: 200,
      skipDryRun: true
    }
  }
};
That’s it, we are good to deploy to the Ropsten network, setting the provider to use an Infura node. Type in the following command. Note: Truffle will automatically create a migration script to deploy your contract and save it in the migrations directory.
truffle migrate --network ropsten
Once your contract is deployed, you can test it using Truffle’s built-in testing framework. You can write test scripts in the test directory and run them using the following command:
truffle testMake sure to thoroughly test your contracts, understand the gas fees and other costs associated with deployment and transaction execution, and follow best practices for security and smart contract design.
Leave a Reply